Are you a camping enthusiast who has experienced the frustration of a torn tent? It’s essential to address this issue promptly to ensure your shelter remains reliable and durable during your outdoor adventures.
In this article, we will explore the common causes of torn tents, quick fixes using materials like duct tape and seam sealer, and a step-by-step guide on how to repair a torn tent.
We will also discuss long-term solutions to prevent future damage, such as proper tent maintenance and investing in high-quality materials. Let’s dive in and learn how to keep your tent in top shape for your next camping trip!
Key Takeaways:
- Repairing a torn tent is important to ensure its durability and longevity.
- The common causes of torn tents include wear and tear, sharp objects, and extreme weather conditions.
- Quick fixes for a torn tent include duct tape, seam sealer, fabric repair tape, and needle and thread.
What Are the Quick Fixes for a Torn Tent?
Immediate remedies for a torn tent involve using duct tape, Seam Grip, fabric repair tape, and sewing techniques. These methods provide temporary solutions until a permanent repair can be carried out.
1. Duct Tape
Duct tape serves as a versatile and easily accessible choice for tent repair, offering a prompt and interim resolution for mending tears and punctures.
Despite its potential as a quick fix, duct tape’s impermanent quality may not consistently offer a durable solution.
Noteworthy is the straightforward application process, which necessitates no specialised expertise or equipment.
It is important to note that the adhesive from duct tape has the propensity to leave a sticky residue on the tent material, presenting challenges in removal.
Furthermore, in severe weather conditions such as intense rain or high winds, duct tape may lack durability, thus necessitating frequent reapplication.
2. Seam Sealer
Seam sealer, such as Seam Grip, serves as an efficient tool for waterproofing and reinforcing the seams of a tent, effectively preventing leaks and potential damages.
For the correct application of Seam Grip in tent repair, it is imperative to start by ensuring that the seams are free of any dirt or moisture.
Subsequently, a thin and uniform coating of Seam Grip should be applied along the seams, using either the provided applicator or a small brush. It is essential to allow the product to completely dry before exposing the tent to any moisture.
This approach ensures the creation of a strong and flexible bond that effectively seals out water, thereby enhancing the overall durability of the tent. Regular inspection and reapplication of Seam Grip to areas showing wear or undergoing high stress are recommended practices to maintain the tent’s waterproofing abilities and prolong its lifespan.
3. Fabric Repair Tape
Fabric repair tape, such as Tenacious Tape, provides a reliable solution for immediate tent repairs, highlighting a strong adhesive backing and exceptional durability. This kind of tape is invaluable for repairing minor tears and punctures in outdoor gear like tents, rucksacks, and jackets.
The process of applying fabric repair tape is simple and straightforward, involving preparing the area, cutting the tape to the desired size, and ensuring a thorough and bubble-free application.
The benefits of using fabric repair tape include its waterproof properties, its ability to flexibly move with the fabric, and its provision of a long-lasting solution that can withstand various weather conditions and activities.
4. Needle and Thread
The utilisation of a needle and thread for sewing represents a traditional yet highly effective approach for repairing fabric, offering a resilient and enduring solution for torn tents.
In commencing the process of tent repair, it is imperative to carefully select a robust thread that aligns with the material of the tent. When addressing tears or holes, a straightforward running stitch or backstitch may be employed to firmly close the gap.
To reinforcing seams or edges, a whip stitch or a blanket stitch may be utilised with efficacy. It is crucial to securely knot the thread at the initiation and conclusion of each stitch to mitigate the risk of unravelling.
The application of a modest quantity of seam sealer on the mended area can serve to further fortify the repair, thereby ensuring the longevity of the tent amidst numerous outdoor excursions.
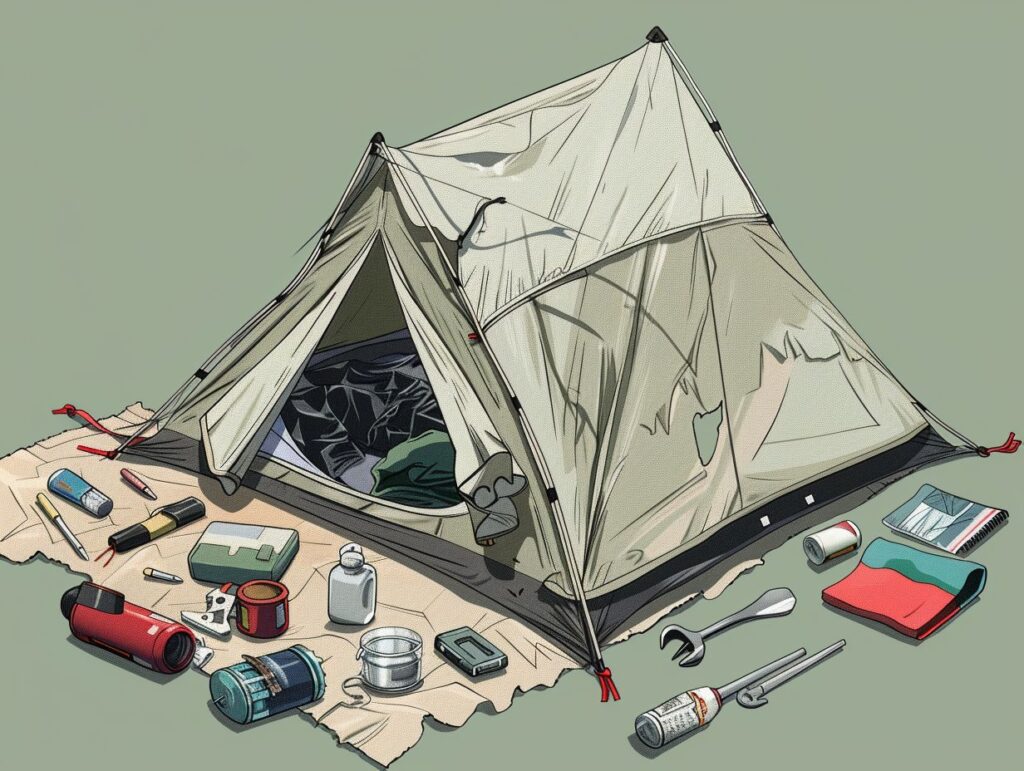
How to Repair a Torn Tent: Step-by-Step Guide
The process of repairing a torn tent necessitates a systematic approach that comprises:
- Cleaning and drying the affected area
- Evaluating the extent of the damage
- Selecting the most suitable repair method
- Executing the repair
- Allowing for proper drying and curing, whether conducted in a repair facility or during field repairs
1. Clean and Dry the Affected Area
The initial phase of any tent repair procedure involves meticulously cleaning and thoroughly drying the affected area to ensure proper adhesion of the repair materials.
This critical step serves not only to facilitate effective bonding of the repair materials but also to prevent any concealed dirt or moisture from compromising the durability of the repair.
To prepare the tent surface for repair, it is advisable to first delicately remove any loose debris, such as leaves, twigs, or dirt. Subsequently, utilise a mild soap or tent cleaner in conjunction with water to cleanse the area and eliminate any obstinate stains. Following this, thoroughly rinse the area with clean water and allow the tent to fully air dry before commencing with the repair process.
2. Assess the Damage
It is imperative to conduct a thorough assessment of the damage to ascertain the extent of the tear and identify the most appropriate method for repairing the tent.
An effective approach to gauging the severity of the tear involves a meticulous examination of both the stitching and fabric surrounding the affected area. Carefully scrutinise for any signs of fraying threads, holes, or weakened areas that could indicate additional concealed damage.
Additionally, measuring the length and width of the tear is advantageous in accurately determining its dimensions. Precise measurements play a crucial role in selecting the correct patch or repair kit for the tent. By conducting a comprehensive evaluation, one can ensure that the repair is thorough and enduring.
3. Choose the Appropriate Repair Method
Selecting the appropriate repair method, whether utilising Seam Grip, Tenacious Tape, or sewing, is crucial for ensuring the durability and efficacy of the tent repair.
Various factors must be taken into account when determining the most suitable repair approach, including the nature of the tent damage. Is it a minor tear necessitating a swift patch, or is it a more extensive rip demanding a more robust solution?
Furthermore, material compatibility is paramount; ensuring that the repair method aligns with the tent fabric can mitigate the risk of further damage. Additionally, having the requisite tools readily available is essential for executing the repair proficiently, whether it involves a specialised adhesive for sealing seams or a needle and thread for stitching.
4. Apply the Repair Method
The process of implementing the selected repair method entails following specific steps to ensure a secure and enduring fix for the tent.
- Commence by conducting a thorough examination of the damaged area to evaluate the extent of the issue.
- Upon identifying the problem, procure the necessary tools, including patches, adhesives, and sewing supplies.
- Subsequently, meticulously clean and prepare the damaged area, ensuring the absence of dirt and debris.
- Depending on the nature of the repair required, it may be necessary to affix a patch through sewing, apply adhesive, or employ a combination of techniques.
- Adhere to the detailed instructions accompanying the repair kit, ensuring precise execution of each step to achieve a successful restoration of the tent.
5. Allow the Repair to Dry and Cure
Following the application of the repair, it is crucial to allow it to dry and fully cure to achieve maximum adhesion and durability.
The process of drying and curing is of utmost importance in determining the efficacy of the repair. Various repair materials have specific requirements in terms of drying durations and environmental factors to achieve optimal outcomes.
For example, epoxy resin typically requires a period of 24-48 hours for complete drying and curing, whereas concrete patches may require up to 7 days. Maintaining a consistent temperature and humidity level throughout the drying and curing process is advisable to mitigate issues like cracking or inadequate bonding.
Adherence to the manufacturer’s guidelines concerning drying times and environmental conditions is paramount for achieving a successful repair resolution.
What Are the Long-Term Solutions for a Torn Tent?
The implementation of enduring resolutions for a torn tent encompasses meticulous tent upkeep, the procurement of superior-quality tents, and the appropriate storage of tents to mitigate the risk of subsequent damage.
1. Proper Tent Maintenance
Proper tent maintenance encompasses a series of essential tasks, including regular cleaning, diligent inspection for damage, and ensuring the functionality of all components to prevent tears and enhance the tent’s longevity.
To effectively uphold the upkeep of a tent, it is imperative to initiate the process by consistently cleaning the tent fabric. This routine practice prevents the accumulation of dirt, which could potentially compromise the material’s structural integrity over time.
Moreover, it is imperative to conduct meticulous inspections after each use or before storing the tent. This scrutiny is vital in detecting any tears, holes, or faulty components that may necessitate immediate rectification.
By promptly replacing any damaged elements and appropriately storing the tent in a dry and cool environment, one can substantially protract the tent’s lifespan and preserve its pristine condition for forthcoming expeditions.
2. Investing in High-Quality Tents
The acquisition of premium tents, such as the Eureka Tetragon, presents a valuable opportunity for frequent campers to mitigate the risk of tears and damages.
These high-calibre tents are meticulously crafted from robust materials capable of enduring adverse weather conditions, thereby enhancing the overall comfort and security of the camping experience.
Noteworthy features of these superior tents, exemplified by the Eureka Tetragon, comprise advanced waterproofing, UV resistance, and optimal ventilation, facilitating dryness and comfort for individuals amidst unforeseen rainstorms or sweltering summer days.
When evaluating the prospect of an upgrade, it is imperative to take into account various factors including the tent’s dimensions, weight, ease of assembly, and overall sturdiness. By considering these elements, campers can ascertain that the chosen tent aligns seamlessly with their distinctive camping requisites and preferences.
3. Storing Tents Properly
Proper storage of tents is essential in preserving their durability and ensuring their readiness for future use. It is imperative to store tents away from direct sunlight to prevent UV degradation.
When choosing a storage location for your tent, it is recommended to select a cool and dry area to prevent the accumulation of moisture, which can result in the growth of mildew and mould.
Before storing the tent, it is crucial to ensure that it is completely dry to prevent musty odors. To provide additional protection, the use of a tent storage bag or container is advised to shield the tent from physical damage and dust accumulation.
Regular monitoring of the stored tent is also recommended to verify its condition, allowing for any necessary repairs to be promptly addressed in order to extend its lifespan.
Frequently Asked Questions
What are some quick fixes for a torn tent?
Some quick fixes for a torn tent include using clear repair tape, duct tape, or fabric patches to cover the tear.
How can I prevent my tent from tearing?
To prevent your tent from tearing, make sure to set it up properly by not pulling too hard on the fabric or poles. Additionally, avoid placing your tent in areas with sharp objects or rough terrain.
Can I use super glue to repair a torn tent?
While super glue may be a quick fix for other items, it is not recommended for repairing a torn tent. The glue can cause the fabric to stiffen, making the tear more susceptible to further damage.
What is the best way to repair a large tear in a tent?
If you have a large tear in your tent, the best solution is to use a tent repair kit. These kits typically include adhesive patches and instructions for repairing the tear in a durable and long-lasting manner.
Is it possible to repair a torn tent while camping?
Yes, it is possible to repair a torn tent while camping. If you have a small tear, you can use quick fixes like tape or patches. For larger tears, you can set up a temporary shelter using a tarp until you can properly repair the tent.
Can I still use my tent if it has a tear?
It is not recommended to use a tent with a tear as it can cause further damage and make it less effective in protecting you from the elements. It’s best to repair the tear before using the tent again.